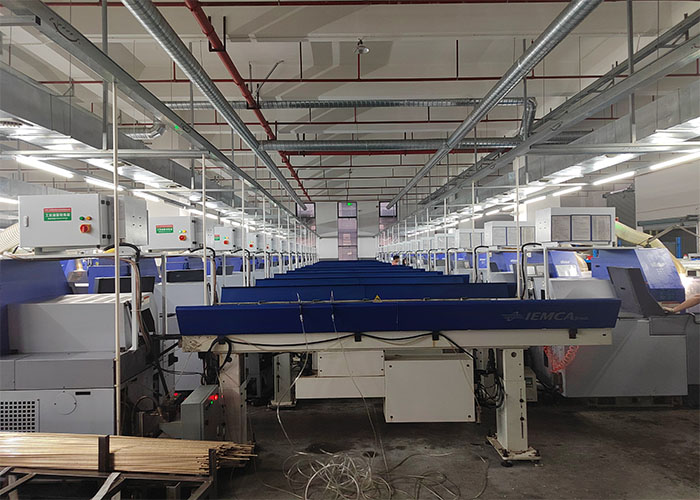
Our Workshop and Equipment

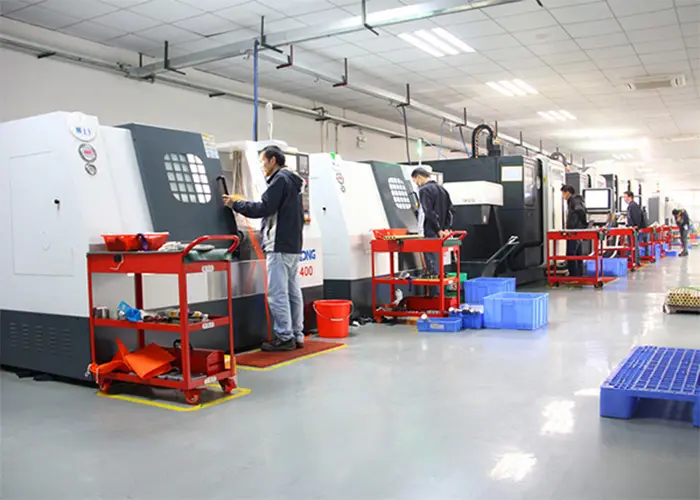
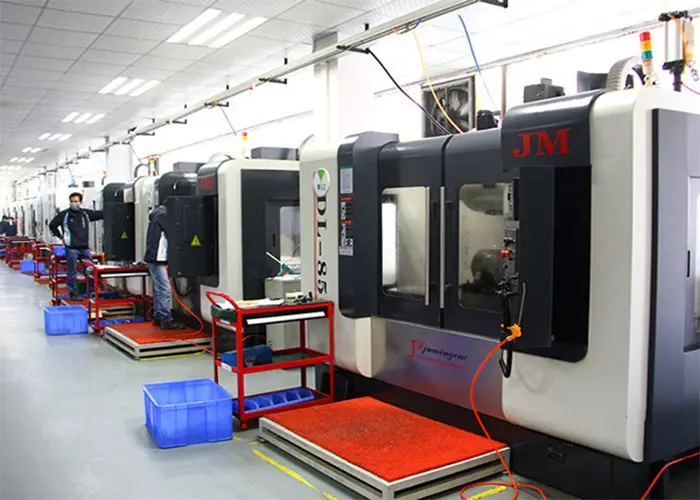
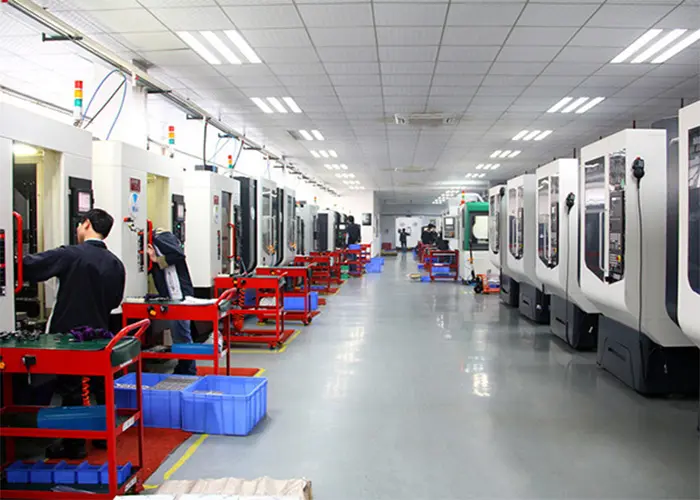
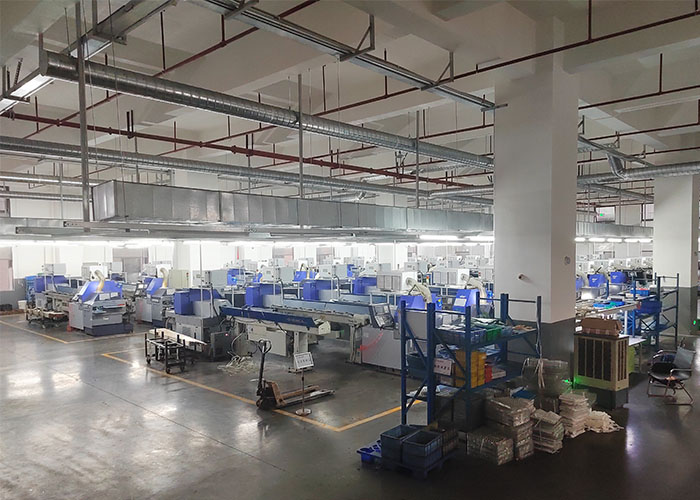
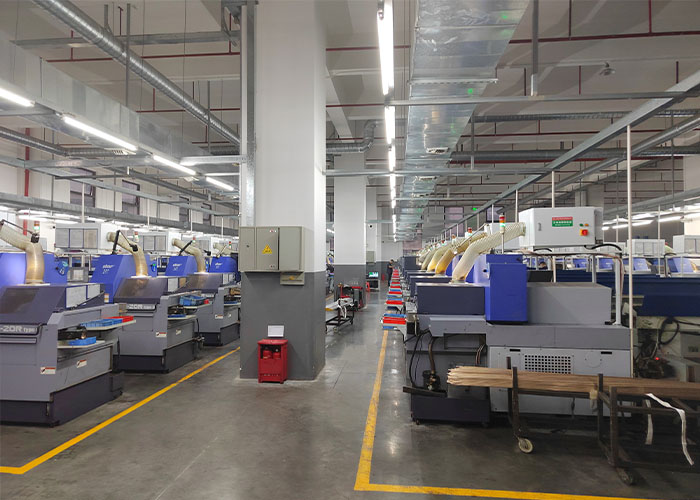
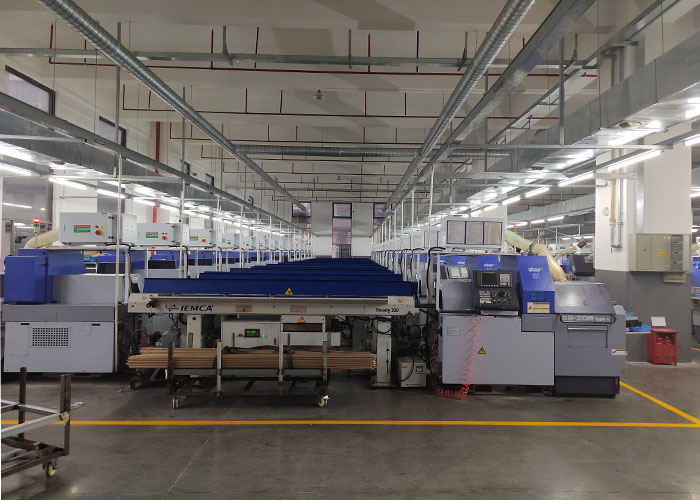
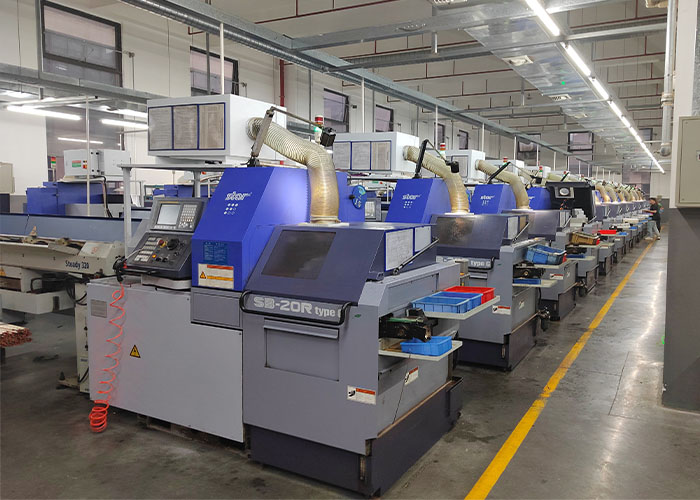
WSF precision machining center is a high-precision machining center specially designed by the group for supporting customers in USA/Europe. It now has more than 70 sets of various machining equipment, 60 + workshop technicians and operators, CNC (milling) station, lathe station, milling machine station, wire cutting position, grinder station, etc. the workshop has a perfect cost control system and process management System and quality control system.

Featured Equipment

Since the initial stage of business, the philosophy of WSF is to always support the production and research and development of customers’ products. No matter Parts or sub-processing of products, WSF are constantly adding equipment to improve production quality and efficiency. To do the best customer demand is our expectation, through the continuous improvement of equipment and technical personnel expansion, the introduction of talent concept is also the new vitality of enterprise development.

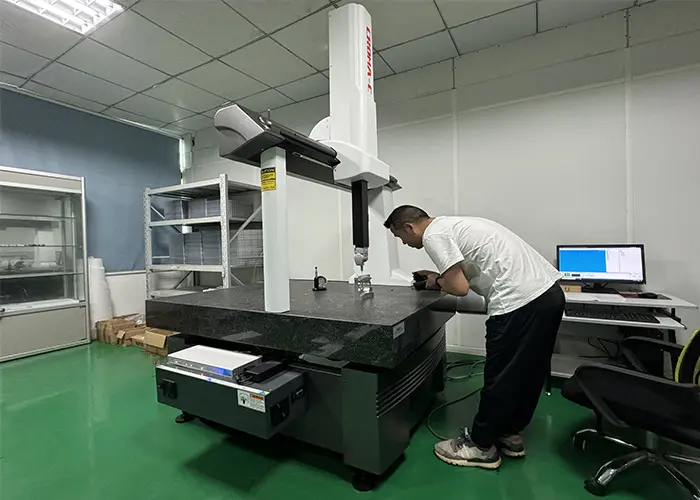
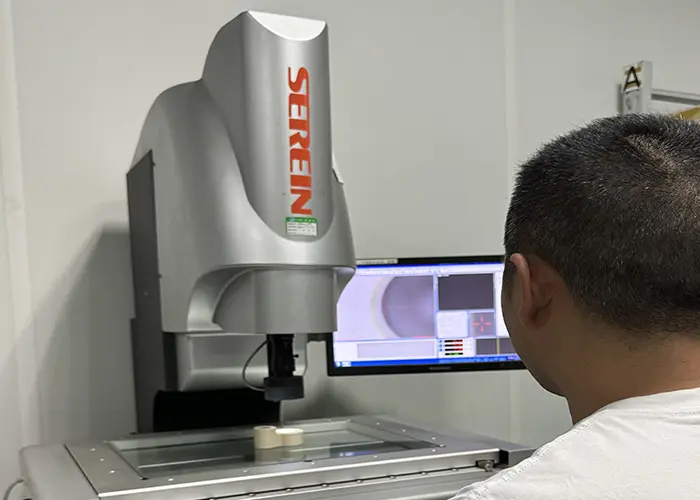
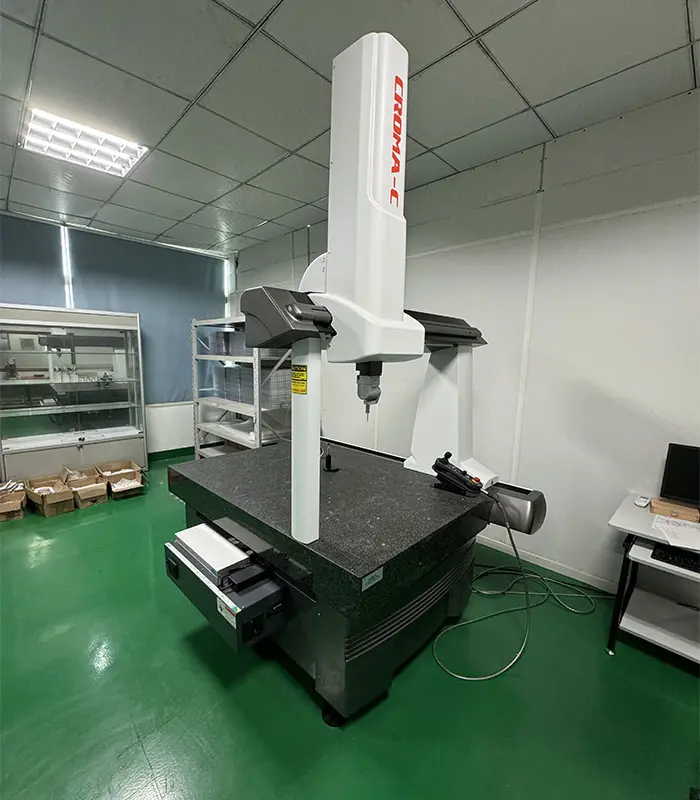
3D Measuring Instrument

A three-dimensional measuring instrument mainly refers to an instrument that measures by taking three-dimensional points. There are also called three-coordinates, three-coordinate measuring machines, three-dimensional coordinate measuring instruments, and three-dimensional ones on the market. The main principle is: the measured object is placed in the three-dimensional measurement space, and the coordinate position of each measuring point on the measured object can be obtained. According to the spatial coordinate values of these points, the geometric size, shape and position of the measured object can be calculated . The basic principle is to obtain the discrete spatial point positions of the measured geometric elements through the cooperation of the detection sensor (probe) and the motion of the measurement space axis, and then complete the analysis and simulation of the measured points (point groups) through certain mathematical calculations. Finally, the measured geometric elements are restored, and the deviation between them and the theoretical value (nominal value) is calculated on this basis, so as to complete the inspection of the measured part.

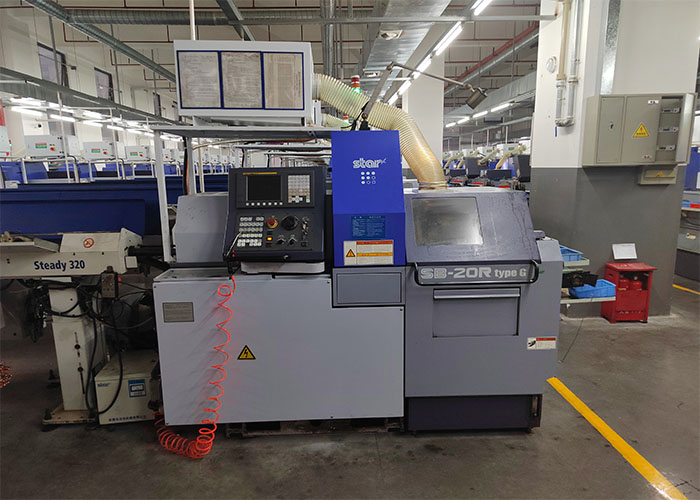
SWISS CNC Machine

A Swiss machine works by feeding bar stock through a guide bushing, which firmly supports the material as it feeds into the tooling area of the machine. In addition, only the portion of the bar stock being machined advances into the tooling area, which means that material is held tightly in place for increased stability and precision.

With a traditional CNC lathe, the workpiece typically rotates rapidly in a fixed position, held firmly on one or both ends. In contrast, with a Swiss lathe, the workpiece can both turn and move back and forth along the Z-axis while various tools cut away the features of the part. Furthermore, Swiss turning machines can perform several operations simultaneously in multiple zones, whereas a traditional lathe typically only performs one operation at a time.

Although Swiss machines have traditionally been used for turned pieces like screws, Swiss machines can also produce complex pieces that have no turned surfaces at all.